GPS Maps & Charts
Remember to check your GPS unit’s compatibility with street, topo & water maps or charts. Opened software cannot be returned.
Did you know!? GPS Central is a BlueChart & Garmin Navionics Dealer Outlet.
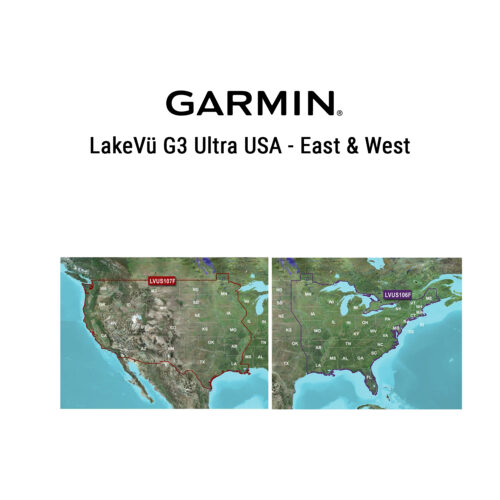
We program nautical (BlueChart g3, BlueChart g3 Vision, Garmin Navionics+, Garmin Navionics Vision+) and freshwater (LakeVu g3, LakeVu g3 Ultra, Garmin Navionics+, Garmin Navionics Vision+) charts on demand, for all Garmin chartplotters and GPS handsets with microSD slot. Quick shipping!

$309.99 – $499.99
In stock, some on backorder
$189.99 – $249.99
In stock, some on backorder

$169.99 – $189.99
In stock, some on backorder
$70.00 – $275.00
In stock, some on backorder

$25.95 – $29.95
In stock, some on backorder

$13.55 – $19.95
In stock, some on backorder

$199.95
In stock
$279.99
In stock
$459.99 – $599.99
In stock, some on backorder
$125.00
In stock

$139.95
In stock

$129.99
In stock

$199.95
In stock

$119.95
On backorder

$139.95
In stock
$199.99
On backorder
$289.99
In stock
$199.99
In stock
$259.99
In stock, some on backorder
$250.00
On backorder
$89.95
In stock
$139.95
In stock
$79.95
On backorder
$99.95 – $169.95
In stock, some on backorder
$659.00
In stock

$335.00
In stock

$130.00
In stock

$319.99 – $519.99
In stock, some on backorder
$189.99 – $259.99
In stock, some on backorder
Sale!

$49.99
In stock

$209.95 – $249.95
In stock

$395.00
In stock

$149.00
In stock